If you're looking for a more interactive way to power off your PC, use this guide to add Slide to shut down to touch and non-touch screen devices on Windows 10.

Shutting down and powering on your computer are perhaps some of the easiest tasks you can do on Windows 10. Back on Windows 8, Microsoft also included a new interactive way to power off your device with the "Slide to shut down your PC" gesture. That feature exists on Windows 10, but it's typically only enabled on tablets and Windows 10 Mobile devices when you press and hold the power button.
If you want to get the same shutdown experience on your laptop or desktop, you can quickly create a shortcut with the proper command to enable "Slide to shut down your PC" on Windows 10, even on non-touch screen devices.
In this Windows 10 guide, we'll walk you through the steps to add the slide to shut down gesture to your computer.
How to add Slide to shut down to your PC
- Right-click on an empty space on the desktop, select New, and click Shortcut.

- Copy and paste the following path:
%windir%\System32\SlideToShutDown.exe - Click Next.

- Enter a descriptive name for the shortcut (e.g., SlideShutdown).
- Click Finish to complete the task.

- Right-click the newly created shortcut and click on Properties.
- On the Shortcut tab, click the Change Icon button.

- Click OK to confirm that the path you specified doesn't contain icons.
- Select an icon that best describe the shutdown button.

- Click OK.
- Click Apply.
- Click OK again to complete the task.


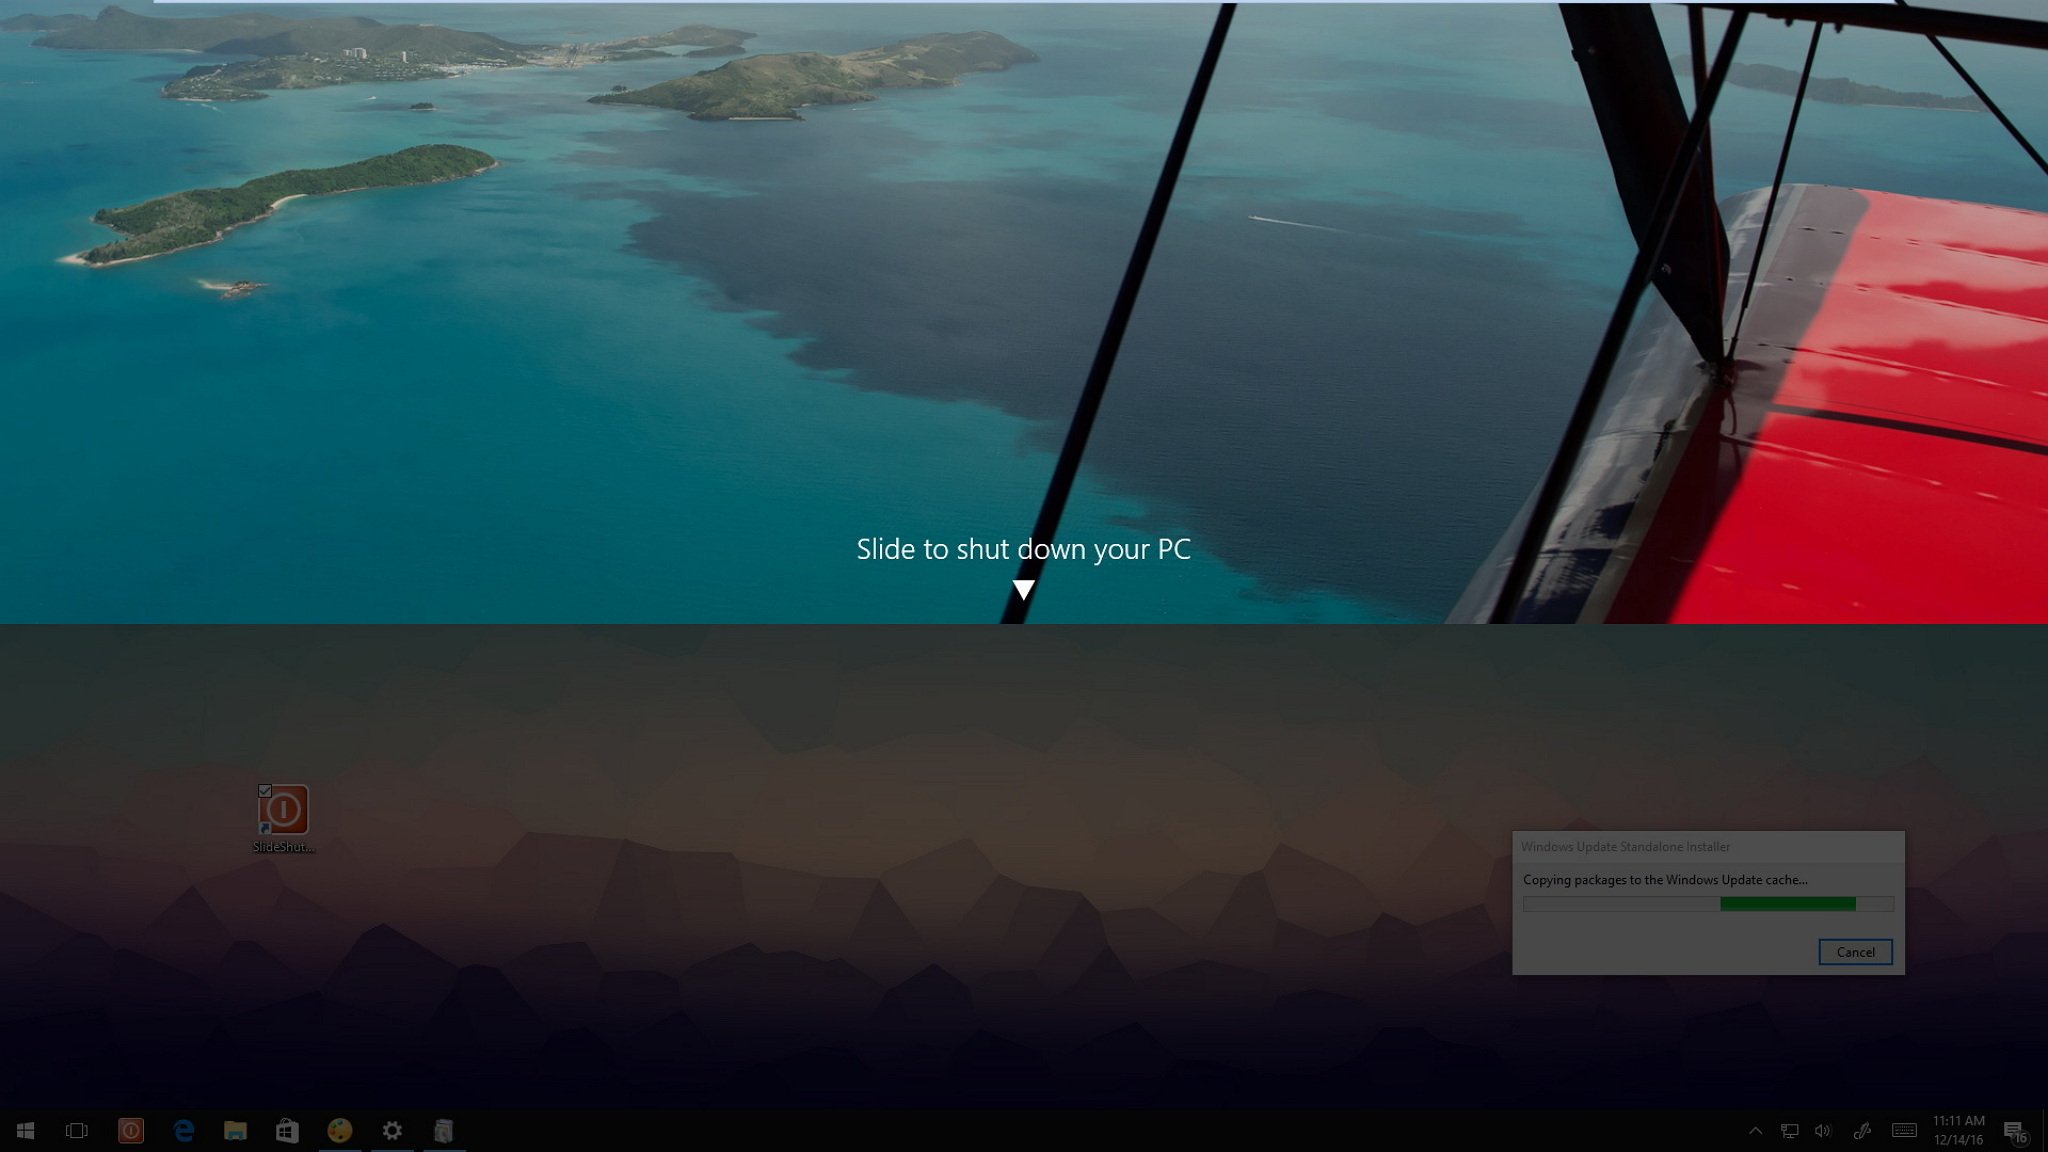
Once you completed the steps, you'll end up with a shortcut that when you double-click will launch Slide to shut down your PC. Then you can simply use touch or click and drag with the mouse to the bottom of the screen to power off your device.
Additionally, you can right-click the shortcut and select "Pin to taskbar" for faster access to the shutdown experience using touch or mouse.
Quick Tip: When using keyboard and mouse, you can run the shortcut, and when Slide to shut down your PC appears, press Enter to power down your device.
Comments
Post a Comment