Enable or Disable “Set Time (Zone) Automatically” in Windows 10 Using Registry Editor
- Press the Windows logo key + R to open the Run box. Type regedit and hit Enter.

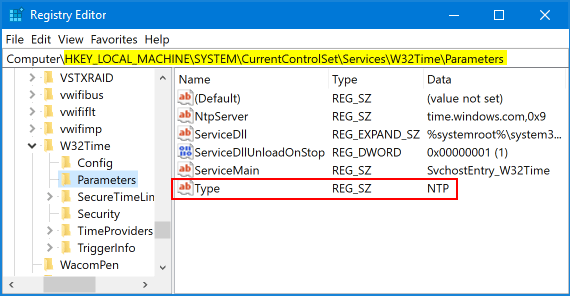
- When the Registry Editor opens, navigate to the following key:
HKEY_LOCAL_MACHINE\SYSTEM\CurrentControlSet\Services\W32Time\Parameters - In the right pane you can see a string value named Type. If you want Windows 10 to set time automatically, set its value data to NTP. To disable automatic time synchronization, change its value to NoSync.
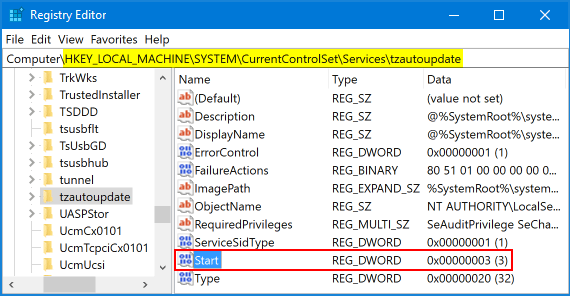
- In order to enable or disable “Set Time Zone Automatically” in Windows 10, navigate to the following key:
HKEY_LOCAL_MACHINE\SYSTEM\CurrentControlSet\Services\tzautoupdate - Double-click the 32-bit DWORD “Start” in the right pane. Set its value data to 3 if you want to make Windows 10 set time zone automatically. If you want to disable “Set Time Zone Automatically” in Windows 10, just set the value to 4.
- Reboot your computer for the registry changes to take effect.
Comments
Post a Comment